🚀 Self-Host n8n with Docker (Complete Beginner’s Guide)
Host your own n8n automation system on Ubuntu with Docker and Cloudflare - fast, secure, and free.

Want to build your own automation system—without paying for cloud plans?
In this guide, I’ll show you how to host n8n on your own Ubuntu server using Docker and Cloudflare Tunnel.
It’s fast, secure, and beginner-friendly.
If you prefer watching, check out my YouTube tutorial where I walk you through every step visually.
🧰 What You’ll Need
Before starting, make sure you have:
- Ubuntu 20.04 or later (preferably 24.04 LTS )
- A user account with sudo privileges
- Basic familiarity with using the terminal
- (Optional) A Cloudflare account if you want to expose your setup to the internet securely
🐳 Step 1: Install Docker Engine & Compose
Docker makes it super easy to run applications inside isolated containers.
Run these commands to install it on Ubuntu:
sudo apt-get update
sudo apt-get install -y ca-certificates curl
sudo install -m 0755 -d /etc/apt/keyrings
sudo curl -fsSL https://download.docker.com/linux/ubuntu/gpg -o /etc/apt/keyrings/docker.asc
sudo chmod a+r /etc/apt/keyrings/docker.asc
echo "deb [arch=$(dpkg --print-architecture) signed-by=/etc/apt/keyrings/docker.asc] \
https://download.docker.com/linux/ubuntu $(. /etc/os-release && echo "${UBUNTU_CODENAME:-$VERSION_CODENAME}") stable" | \
sudo tee /etc/apt/sources.list.d/docker.list > /dev/null
sudo apt-get update
sudo apt-get install -y docker-ce docker-ce-cli containerd.io docker-buildx-plugin docker-compose-plugin
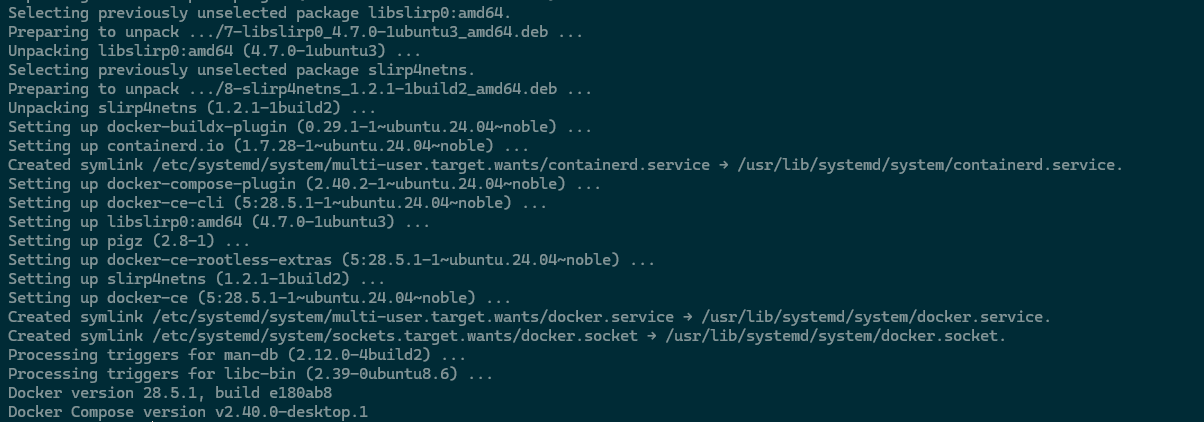
sudo docker --version
sudo docker compose versionCommand to install docker and docker compose into your VPS
✅ Tip: Docker will let you spin up n8n, databases, and other tools with a single command later.
📦 Step 2: Clone the n8n Self-Hosting Repository
Download my preconfigured setup directly from GitHub:
cd ~
git clone https://github.com/Bme-Adib/n8nSelfHosting.git
cd n8nSelfHosting
This repo contains everything you need — including the docker-compose.yml file — to launch n8n instantly.
🚀 Step 3: Start n8n
Run the following to launch your own n8n instance:
docker compose up -dThat’s it! Docker will download the required images and start n8n automatically.
Access it at:
htttp://localhost:5678if on a server:
http://YOUR_SERVER_IP:5678🧩 Note: If you plan to use Google integrations (like Gmail or Sheets), you’ll need a valid domain name — Google’s APIs won’t work with just an IP address.
☁️ Setting Up Cloudflare Tunnel (Optional but Recommended)
If you want to make your n8n instance securely accessible online without exposing ports, Cloudflare Tunnel is the best way to do it.
1. Install Cloudflared
sudo mkdir -p --mode=0755 /usr/share/keyrings
curl -fsSL https://pkg.cloudflare.com/cloudflare-main.gpg | \
  sudo tee /usr/share/keyrings/cloudflare-main.gpg >/dev/null
echo "deb [signed-by=/usr/share/keyrings/cloudflare-main.gpg] \
https://pkg.cloudflare.com/cloudflared $(lsb_release -cs) main" | \
  sudo tee /etc/apt/sources.list.d/cloudflared.list
sudo apt update && sudo apt install cloudflared -y
2. Authenticate with Cloudflare
cloudflared tunnel login🧩 Note: This opens your browser — log in with your Cloudflare account and pick your domain.
Your credentials will be saved in~/.cloudflared.
3. Create and Configure a Tunnel
Create a tunnel:
cloudflared tunnel create my-tunnelchange my-tunnel with a name of your choice
✅ Note: when creating the tunnel it will print out the tunnel ID, copy it because we will need it later

Then edit its configuration:
sudo nano /etc/cloudflared/config.ymlexample
tunnel: <TUNNEL-ID>
credentials-file: /root/.cloudflared/<TUNNEL-ID>.json

ingress:
  - hostname: n8n.mydomain.com
    service: http://localhost:5678
  - service: http_status:404
then press control x --> y --> Enter
Replace:<TUNNEL-ID>with your actual IDmydomain.comwith your real domain
Then run:
cloudflared tunnel route dns my-tunnel n8n.mydomain.comFinally, install it as a service:
sudo cloudflared service installNow your n8n instance will automatically start on boot and be accessible at:
https://n8n.mydomain.com🧩 Advanced Setup - Multiple Services
If you want to expose more than one service through Cloudflare Tunnel, simply extend the ingress section:
tunnel: <TUNNEL-ID>
credentials-file: /root/.cloudflared/<TUNNEL-ID>.json

ingress:
  - hostname: n8n.mydomain.com
    service: http://localhost:5678

  - hostname: chat.mydomain.com
    service: http://localhost:3000

  - hostname: crm.mydomain.com
    service: http://localhost:8080


  - service: http_status:404
🏁 Wrapping Up
You’ve just set up your own self-hosted n8n instance with Docker - and optionally connected it securely through Cloudflare.
This setup gives you full control, privacy, and scalability without monthly costs.
If you’d like to see it all in action, watch the full tutorial on my YouTube Channel.
✉️ Need Help or Want to Collaborate?
If you need help setting this up or have any inquiries,
please contact me through the
contact form on my website.
If you’re looking to collaborate on projects involving Automation, AI, or Java programming, feel free to reach out via the consultation form: